How to get rid of mice · evidence-led home guide
How to Get Rid of Mice: The Plan I Wish I Had After Finding Three Droppings
The fastest route is not buying five random products. It is finding the route, removing the mice already inside, cleaning safely, and making sure the same gap cannot refill the problem.

Get rid of mice by removing food and water, sealing every usable entry gap, trapping the animals already inside, cleaning contaminated areas safely, and monitoring until no new signs appear.
It usually starts with something small enough to explain away: three dark pellets beside a cereal container, a faint scratching after the lights go out, or a corner of a bag that looks chewed.
The tempting response is to buy the first trap on the shelf and place it where the evidence happened to be. Sometimes it catches one mouse. Then a week later, the signs return in another cabinet because the real plan never addressed the route.
A trap can remove a mouse. It cannot repair the pencil-width gap that invited the next one in.
Start With a Map, Not a Shopping Cart
Before moving anything, note where the newest evidence appears. Look along walls rather than the center of a room: behind appliances, beneath sinks, inside lower cabinets, near pipe penetrations, beside garage doors, and along basement or attic edges. Photograph the locations and date them. Fresh signs tell you where to inspect and where active-control tools have the best chance of intersecting a route.
The 1/4-Inch Detail Most Quick Guides Skip
The CDC says a mouse can fit through an opening about one-quarter inch wide—roughly the width of a pencil. That changes how you inspect a kitchen. A space around a utility pipe that looks cosmetic can be an entry route. So can the gap behind a cabinet kick plate or beneath a worn exterior door.
For small holes, CDC guidance includes steel wool secured with caulk. Larger openings may require durable metal, hardware cloth, or cement-type repairs. The correct material depends on the surface and location; soft filler by itself is easy to defeat.

If a route may be the only exit for animals already inside, combine sealing with an active removal plan instead of blindly closing every opening and assuming the problem is over.
Choose a Trap for the Route You Found
EPA guidance lists snap traps among the options for rodent control. Place any trap according to its instructions and only where children and pets cannot access it. More devices in a random corner are less useful than correctly positioned devices along a confirmed travel edge.
Check on a fixed schedule and record the result. If signs move to another room, expand the inspection rather than simply adding traps to the original cabinet. If scratching is inside an inaccessible wall or contamination is heavy, that is a good point to call a qualified professional.
| What you see | What it may mean | What to do next |
|---|---|---|
| Fresh droppings after trapping | Activity continues or a route remains open | Reset safely, inspect the nearby wall line, and re-check food sources. |
| Scratching inside a wall | An inaccessible route or nesting area | Avoid opening a contaminated void without a plan; consider professional help. |
| No new signs for several days | The active population may be reduced | Keep monitoring and maintain exclusion. |
| New signs in another room | The route is broader than one trap location | Map the new evidence and extend the inspection room by room. |
Rodent waste can carry germs. Follow current CDC cleanup guidance, including ventilation, gloves, wet disinfection, and recommended disposal. Heavy contamination may require professional cleanup.
Where a Repellent Can Sit in the Plan
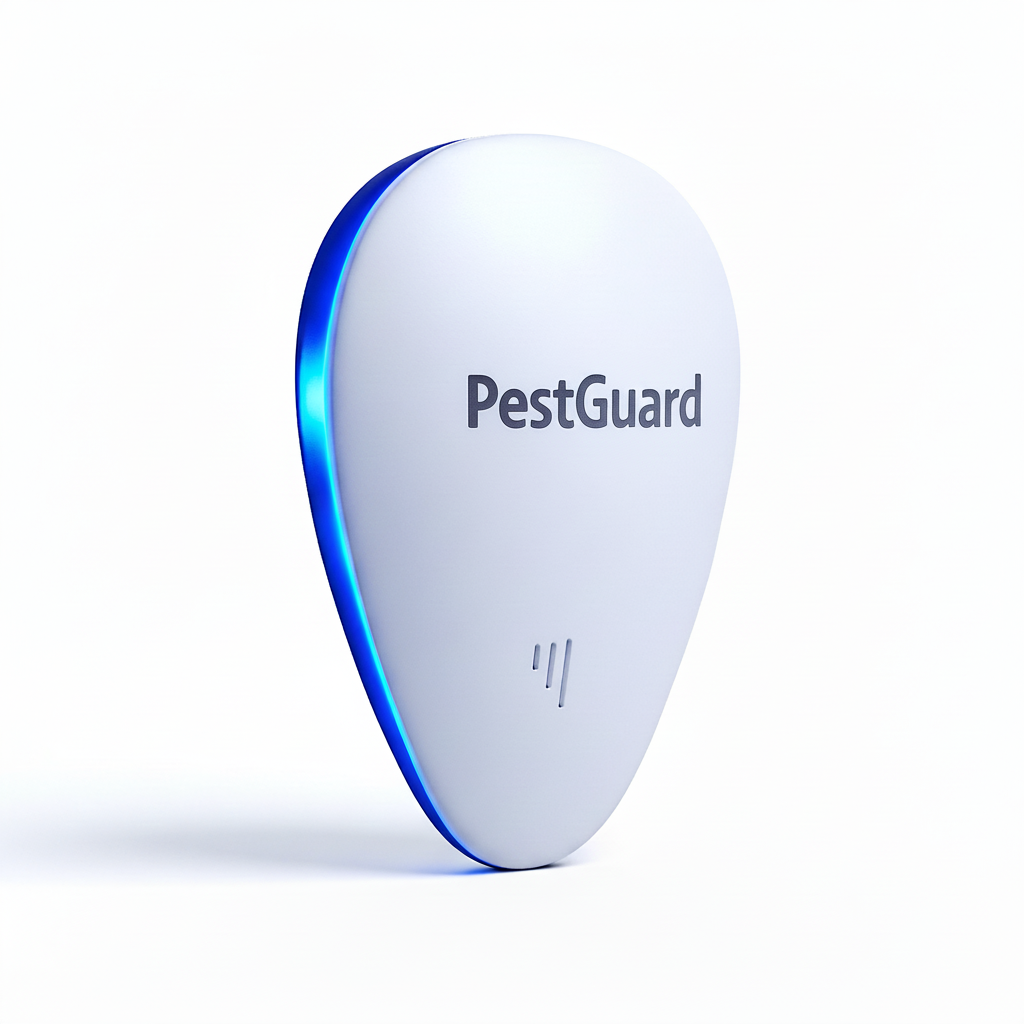
A scent or ultrasonic device should not be treated as the removal step. If you want a no-spray layer after the essential work is underway, define one room, document the starting signs, and keep every other change in the log. That makes it possible to judge whether activity truly changes instead of crediting a blue light for work done by sealing or trapping.
Questions People Ask Before They Act
How do you get rid of mice for good?
Remove the mice already inside and close the route that let them enter. Combine sanitation, exclusion, traps or another appropriate control method, safe cleanup, and continued monitoring.
What size hole can a mouse fit through?
CDC guidance says mice can fit through a hole about one-quarter inch wide, roughly the width of a pencil.
Should I vacuum mouse droppings?
Do not sweep or vacuum dry droppings. Follow current CDC steps for ventilation, disinfecting, bagging, and cleanup.
Will an ultrasonic repeller remove mice already inside?
Do not rely on it for removal. Treat a plug-in device only as an optional room layer while sealing and active control address the infestation.
Sources Reviewed September 17, 2026
- CDC: Seal up to prevent rodents
- CDC: Clean up after rodents
- CDC: Hantavirus prevention
- EPA: Options for dealing with rodent infestations
This guide is educational and is not a substitute for a pest-control professional, product-label directions, or public-health advice for a specific property.
Continue the PestGuard Home Report
Where PestGuard Fits—and Where It Does Not
PestGuard is a plug-in, no-spray room layer. It is not a trap, contact pesticide, or substitute for sealing entry points and removing an active infestation.
- Use it in an open outlet in the specific room you want to monitor.
- Keep sanitation, exclusion, trapping, and label-directed treatment in the plan.
- Judge the result by new signs over time, not by the blue power light.

Try the Room Plan for Up to 90 Days
Choose the pack by the number of rooms you plan to cover. Current pricing and the complete money-back policy are shown on the official product page.